In this article, we will create our first React app. The first step in developing a React app is to import the React library. To do this, add script tags to the website's head section. The React and ReactDOM variables must be defined before we can use them, so it is important to add our script loading tags before we begin building our React application. These script tags need to be added-

There is also a library called babel-core in the head tags mentioned above. The Babel library is used to convert ES6 to ES5. ES stands for ECMAScript, which is another term for Javascript. ES5 is the fifth update to JS. Because it is supported by all browsers, we need to convert the code to ES5. The most recent version of JS, ES6, is supported by all the major browsers, while ES5 is still compatible with earlier browser versions. ES6 classes are used to create React components. The component will be named App. The following code will create the component-:
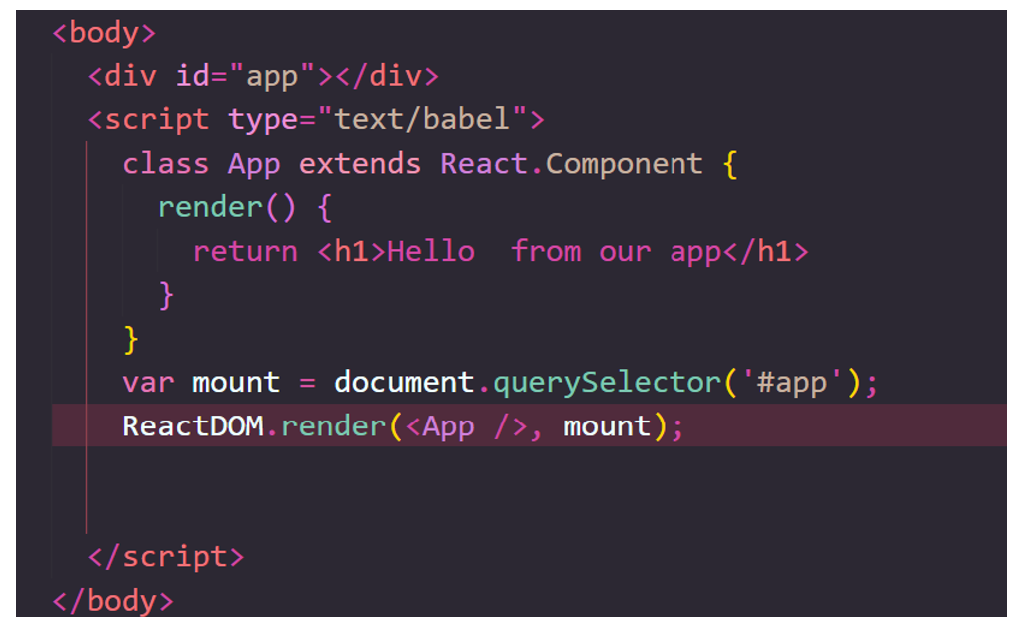
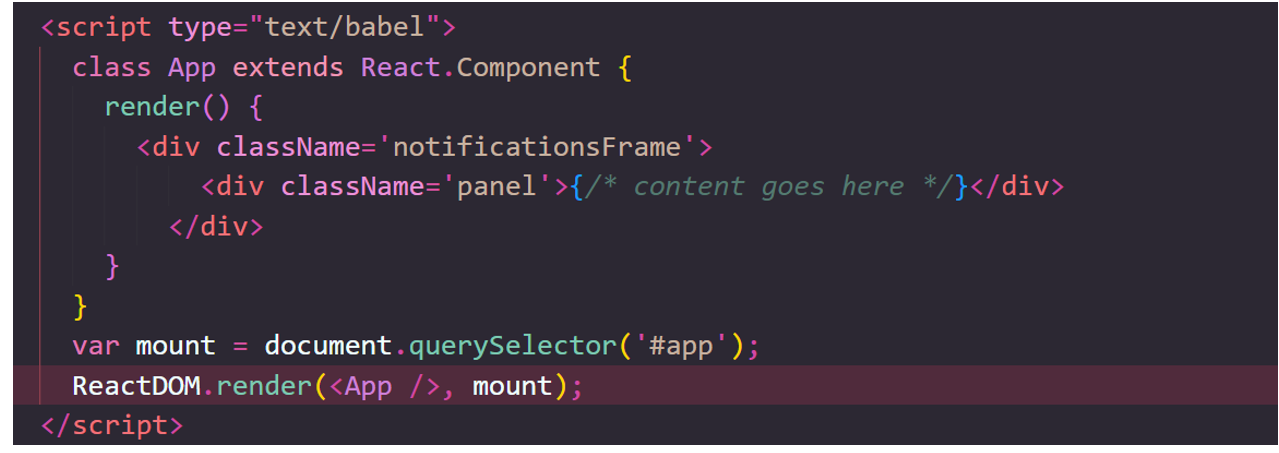
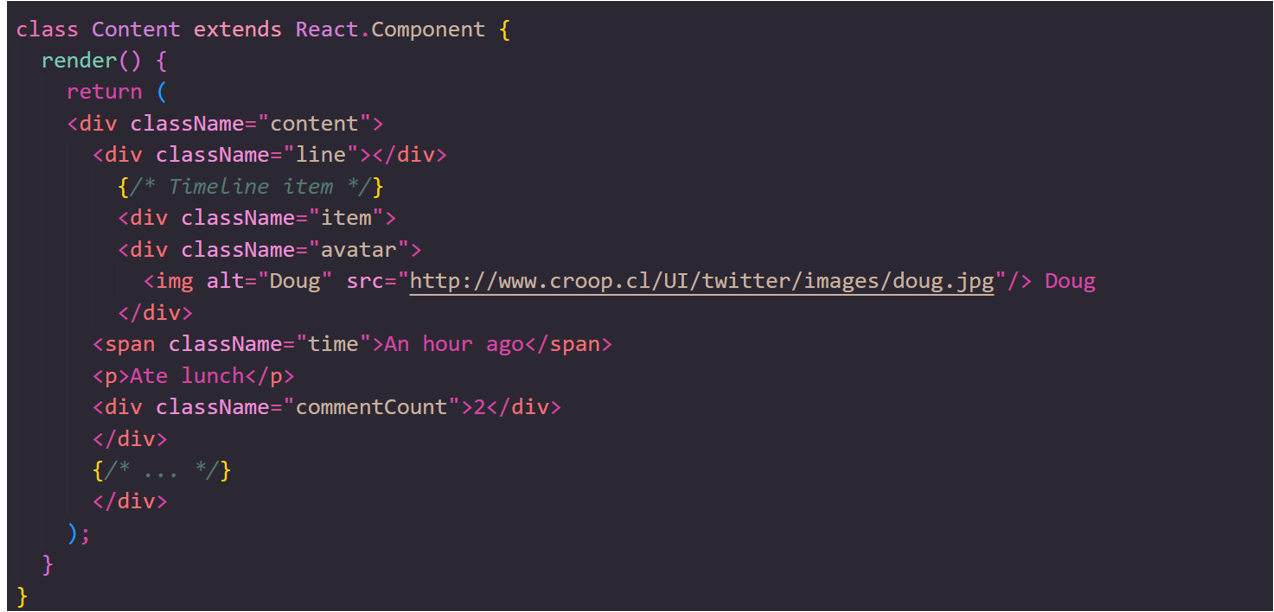
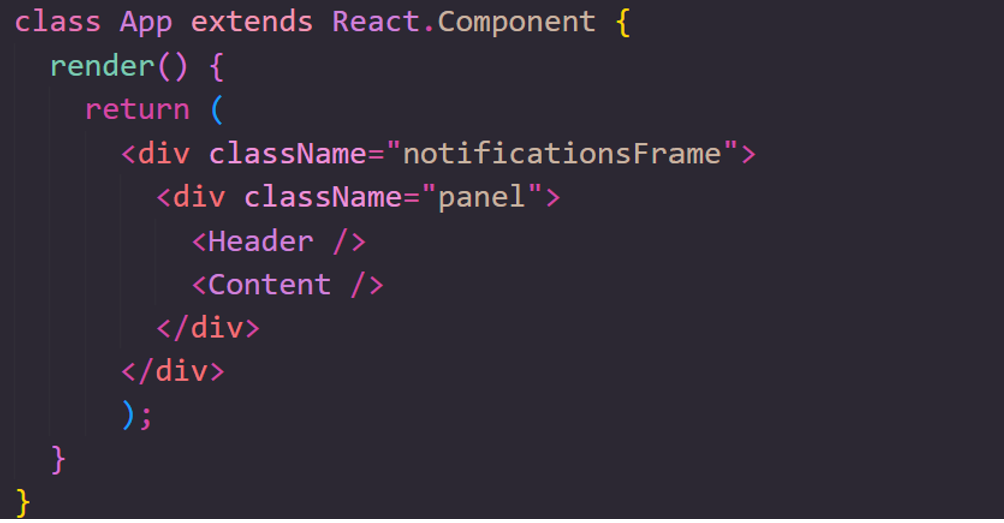
This will create a website with the heading 'Hello from our app'. We will build a more complicated UI now that we have completed our initial component. We will create a user timeline. We may create the full UI in a single component. However, implementing a whole programe in a single component is not a good idea because it can become large, complex, and difficult to test. Rather than constructing this as a single component, let us divide it into several components. First, we will divide the UI into two sections. 1. the header bar 2. The content. The content component is divided into three more components. 1. A profile photo 2. Time 3. The description. Before we can develop the actual program, we must first create the container that will contain it. The other two components will be held or wrapped by the app containers. This is how the component will look -:
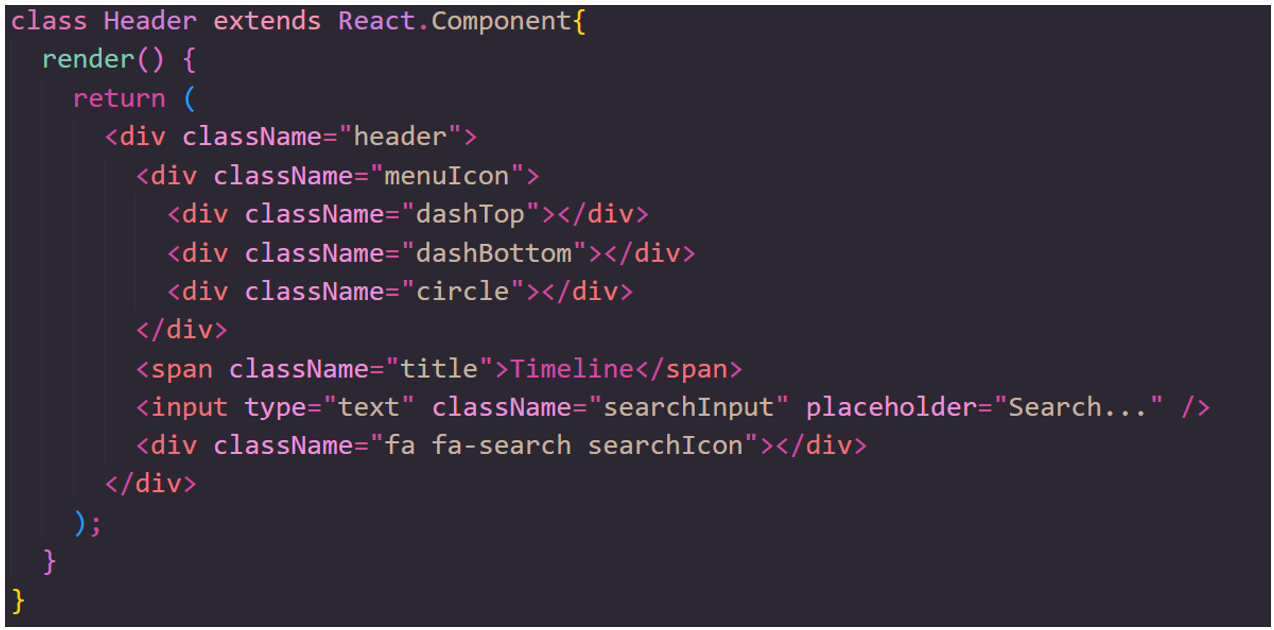
A component is referred to as a child component when it is nested inside another component. A component can have numerous child components. The component that uses a child component is referred to as the parent component. The header and content elements will look like this-:
Now that we have our two children components, we can set the Header and the Content components to be children of the App component.
Finally, in order to render it, we must add these two lines:

We'll develop state components, data-driven components, lifecycle hooks, and proptypes in the next post. The complete code is available on my github.
« Read Previous Article in this Series Read Next Article in this Series »