
This article will discuss how to package and deploy React applications. React requires many configurations to run a React app, but the React team built a generator app that makes it easier and faster to package and deploy apps.
So far, every app we have created has been written in a single script, which is excellent for simplicity but can make it hard for different developers to share components. Writing complicated apps in a single file is also somewhat challenging. Instead, we'll use create-react-app, a well-known packaging tool, to set up a build tool for our apps. We must first install it before we can utilize it. We may install create-react-app using either npm or yarn.

As create-react-app is installed globally, we'll be able to use the react app command anywhere in our terminal. Let's create a new app we'll call day11 using the command we just installed. First, open a Terminal window in a directory where you want to create your app. Next, we can create a new React application in the terminal by using the following command and naming the app we want to create.

Let's launch our application in the web browser. The package.json file contains a few built-in scripts created by the create-react-app package. The following command will allow us to begin editing our application using the integrated web server:

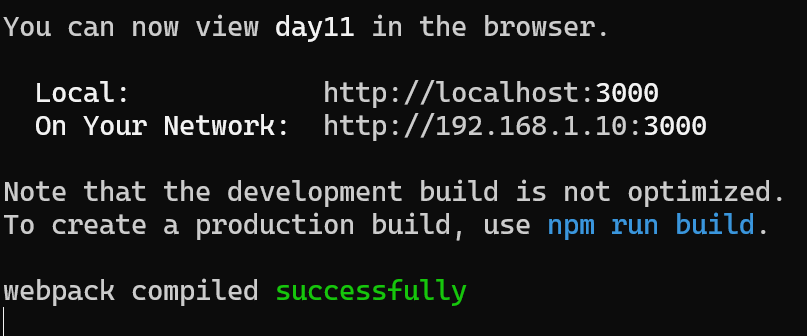
This command will launch the default application that Chrome generated for us in a window that is located at http://localhost:3000/.
The freshly developed app has to be edited. Looking at the directory structure it built, we can see that we have a simple node app running with a public/index.html and a few files in the src/ directory that make up our running app. Opening the src/App.js file reveals that it contains a basic render function that outputs the output displayed in the Chrome window. The application itself will be mounted for us automatically from the single node in the index.html file with the id #root. The index.html file can be loaded at any moment to add webfonts, style tags, etc.
Let's have a look at some of the capabilities enabled by create-react-app. Previously, we used a variety of components. Let's use a header and content from the sample we went over on day four (slightly simplified: remove the inner component and change the className from notificationsFrame to App).
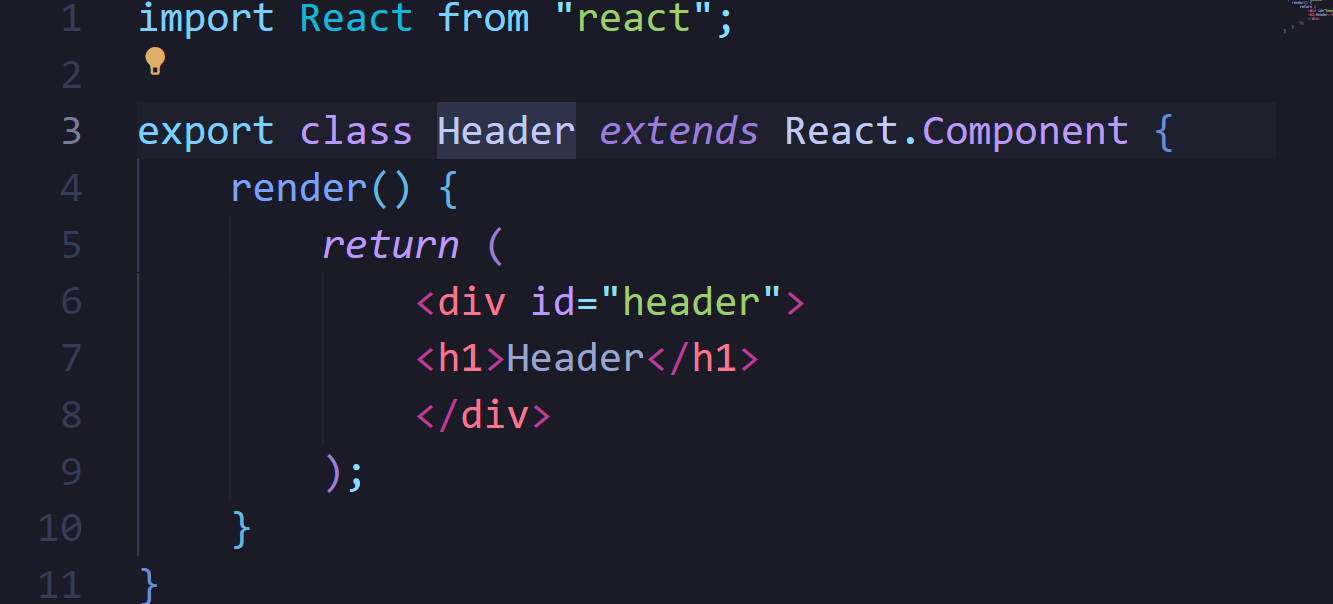
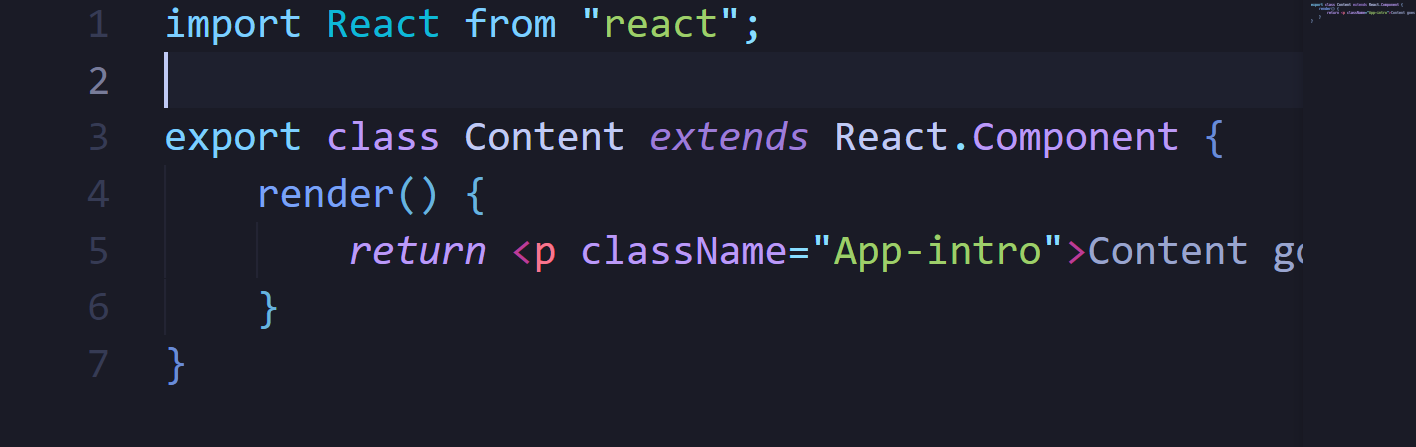
We could define the Header and the Content components in the same file, but as we discussed, that becomes pretty cumbersome. Instead, let's create a directory called components/ in the src/ directory ( create two files called Header.js and src/components/ ) and Content.js in there.
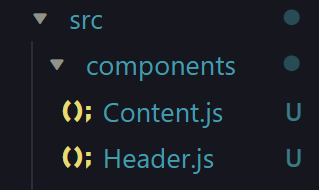
Now, let's write the two components in their respective file.
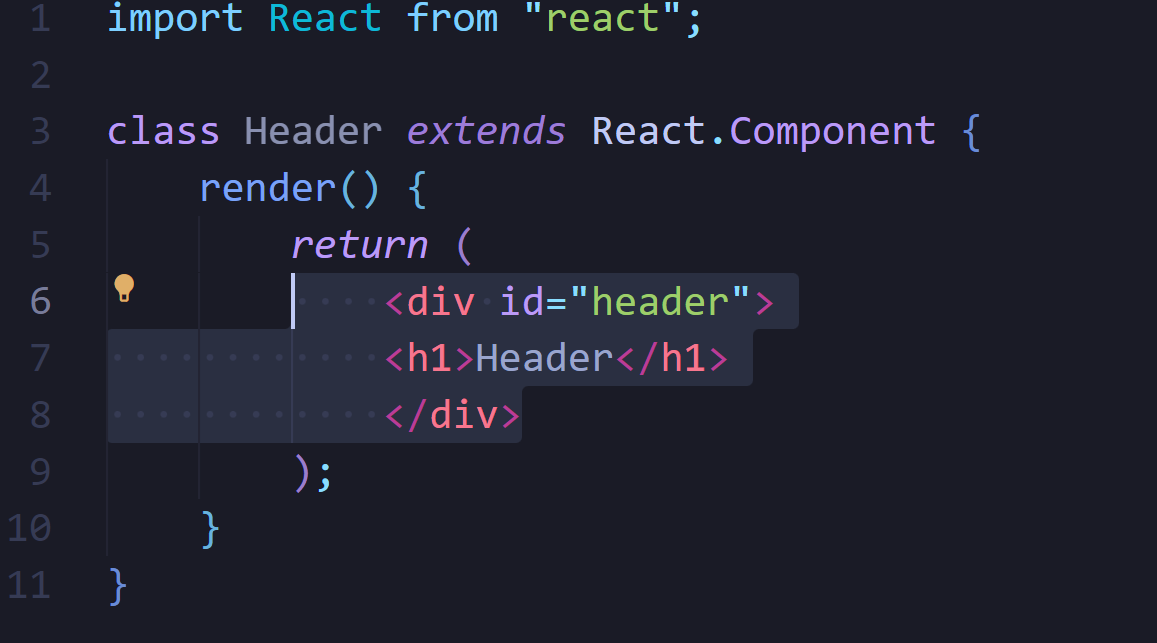
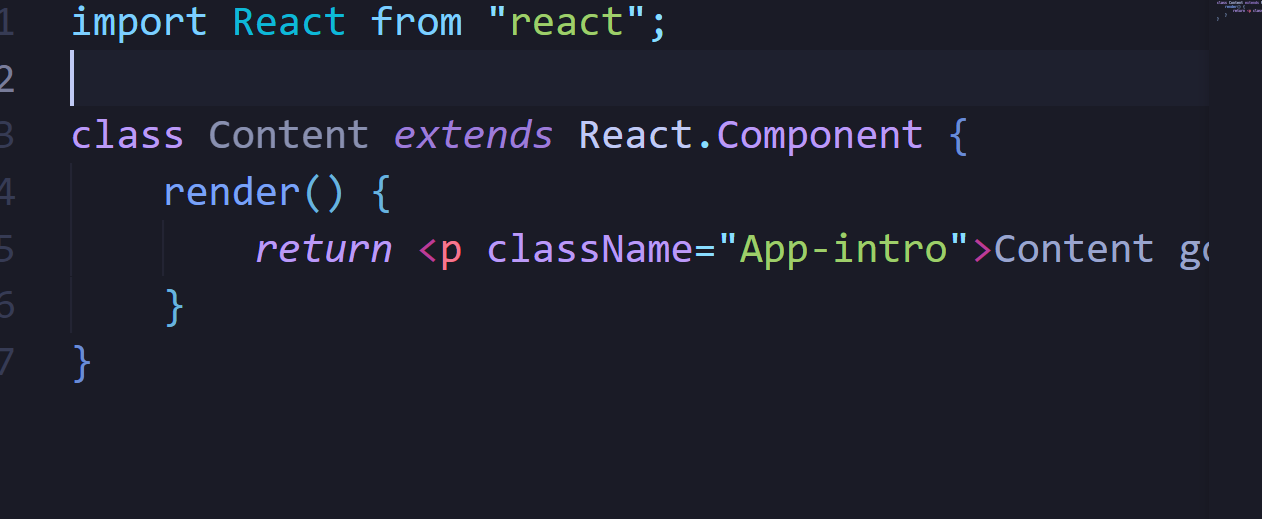
These two component definitions may then be imported into our App component with a minor modification. To import the components, the export keyword must be included before the class definition, as illustrated below.
Now we can import these two component from our App.js by adding these two src/App.js file. This is shown below.

By convention, if we only have a single export from these files, we can use the export default syntax so we can remove the {} surrounding the named export. Let's update each of these respective files to include an extra line at the end to enable the default import:

Now we can update our import of the two components like so

Deployment will be discussed in a future article, but for the time being, we can use a build command to create minified, optimized versions of our app that we can upload to a server. We can build our app using the npm run build command in the root of our project

With that, we now have a live-reloading single-page app (SPA) ready for development. In the next article, we'll use this new app we built, diving into rendering multiple components at run-time. The complete code for this article is available on my Github.
« Read Previous Article in this Series Read Next Article in this Series »